Step 1: Sign into the app.

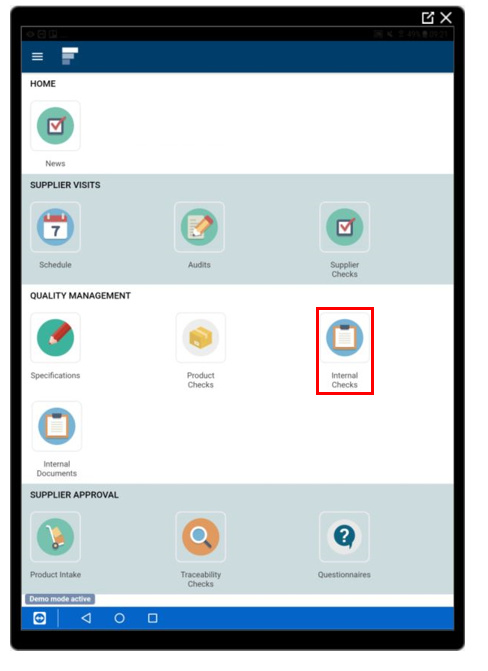
Step 2: Select Internal Checks on the home screen.
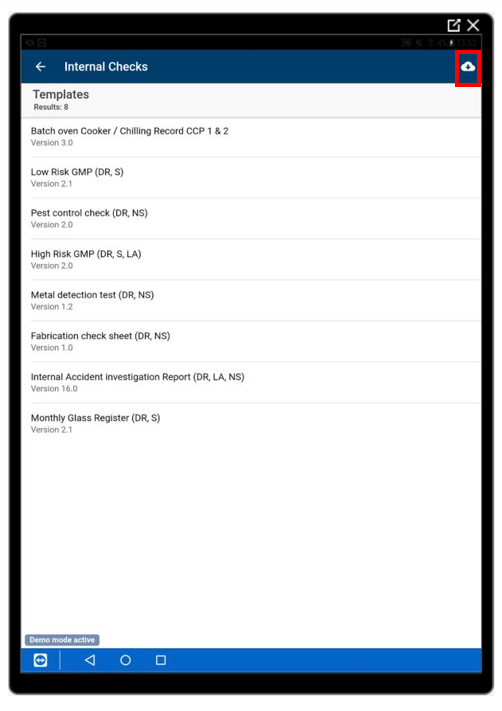
Step 3: Select Templates

Step 4: Download your check templates to the tablet first by selecting the cloud icon at the top right corner.
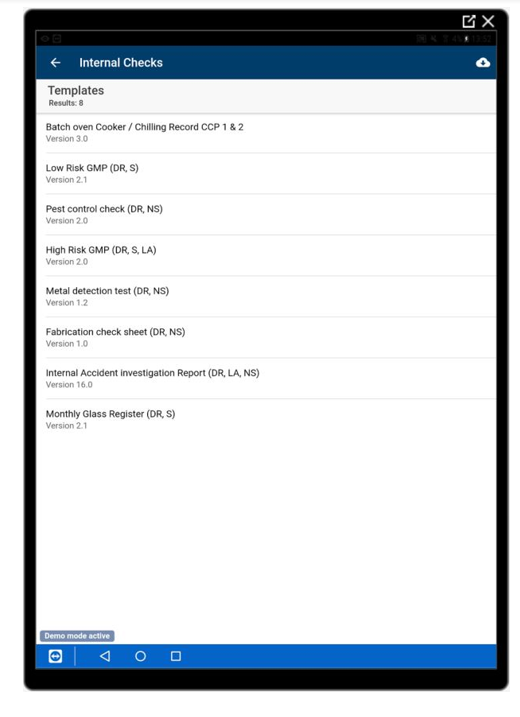
Step 5: Your templates will all download. Once downloaded select the template you need for your check.
Step 6: Select the template, then complete your check by selecting the correct fields.
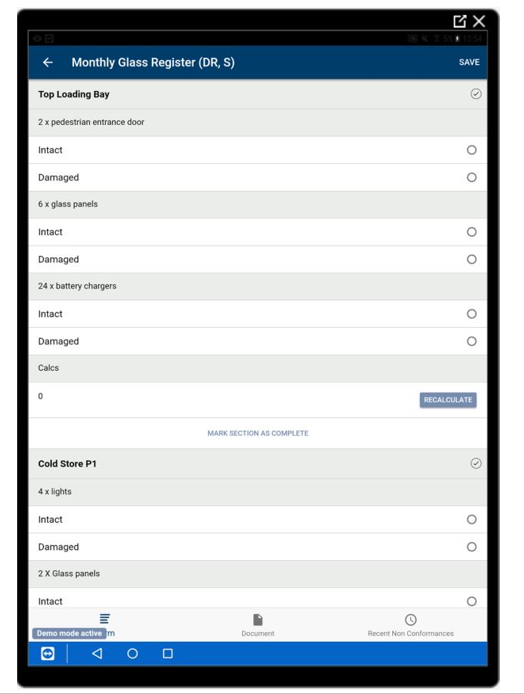
Step 7: If there is a document attached to the check you can view it here

It will look like this. You can easily switch between the two to reference

Step 8: You can view any recent non-conformances as you go along here

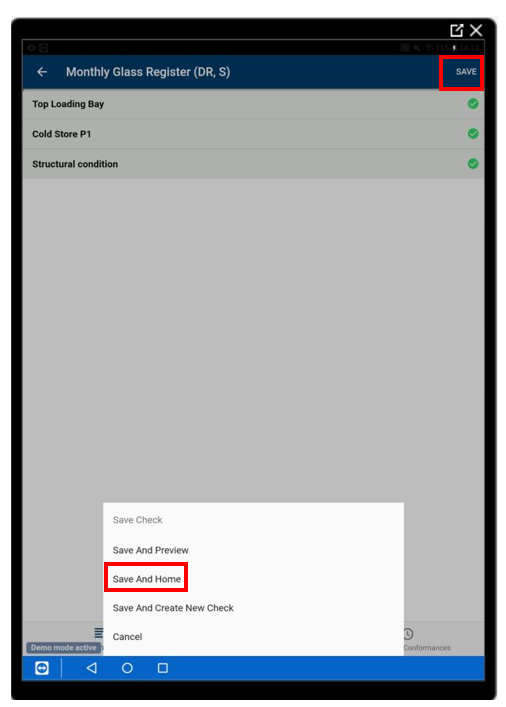
Step 9: Once your check is complete select Save then Save & Home
Step 10: If there were any issues that need resolved or Non-conformances, go back to Internal Checks on the tablet, then select Non-conformances you can resolve these issues directly on the tablet.

Step 11: Select Edit beside Non-conformance

Step 12: The select the pen icon to allow you to enter in your responses

Step 13: Fill in your response add any evidence or pictures if necessary, then select Save

Step 14: As you can see that issue has turned green to represent it has been responded too. Once done, select Submit or if you need to edit select Edit again and change your response
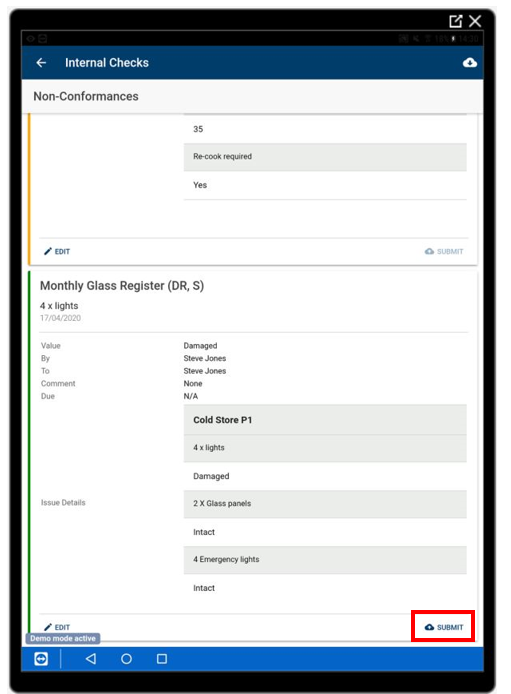
Step 15: Once you submit your response is then logged. Repeat these steps for any other non-conformances that need corrected on your tablet