- Knowledge Base
- Supplier Audit Manager
- Using And Completing An Audit
-
FAQs
-
Activation Process
-
One Pagers
-
Document Request Manager
-
Settings- Company Settings
-
Settings- Company Users Email & Security
-
Supply Chain Manager
-
Product Check Manager
-
Internal Document Manager
-
Production Models
-
Supplier Manager
-
Settings- Manage Products
-
Supplier Questionnaire Manager
-
Supplier Check Manager
-
Supplier Document Manager
- Tool Documentation
- Initial Setup of Supplier Document Manager
- Creating A Supplier Document Template
- Building The Document
- Approving The Document Internally Before Sending Out
- Delete Documents
- View Selected
- Sharing A Document With Suppliers To Sign Off
- Exceptions
- Sign Off Review
- Viewing A Customer Document
- Sign Off The Document
- Assign Responsibility
- Delete/Reject Selected
- Receiving & Viewing An Exception
-
Risk Assessment Manager
-
Incident Manager
- Tool Documentation
- Initial Setup
- Create Incident Forms – Supplier & Customer Confirmations
- Edit Incident Forms – Supplier & Customer Confirmations
- RASFF Notifications
- Create An Incident From The RASFF Notifications
- View Incident
- Edit Incident
- Share An Incident
- View Company Incident Shares
- View Responses From Supplier
- Request More Info
- Respond To Incident/Confirm/Close Out Incident
- Supplier Side Incident Manager
-
Remote Audit Manager
-
Specification Manager
- Tool Documentation
- Initial Setup For Specification Manager
- Creating Specification Templates
- Creating And Managing Company Specifications
- Creating and Managing Collaborative Specifications
- Creating and Managing Ingredient Specifications
- Sharing and Managing External Specifications
- Providing Customer Access To Linked Specifications
- Managing Specification Exceptions
- Viewing Specifications On The App
-
Customer Complaint Manager
-
Internal Check Manager
-
Workflow Manager
-
Stock Manager
-
Forecast Manager
-
Order Manager
-
Meeting Notes Manager
-
Customer Tool Guides
-
Traceability Manager
-
Supplier Audit Manager
- Tool Documentation
- Initial Setup
- Building A Custom Audit
- Using And Completing An Audit
- Update An Audit
- Request An Internal Review
- Mark Audit As Complete
- Notify Team Members
- Send PDF Report
- Export Full Audit Table To PDF
- Export Full Audit Table To Excel
- Recall Audit
- Reopen Audit
- Managing Activity Subscriptions
- Supplier Provided Audits
-
Purchasing & Sales Manager
-
Visit & Audit Schedule
-
Formbuilder
3.2 Completing An Audit On App
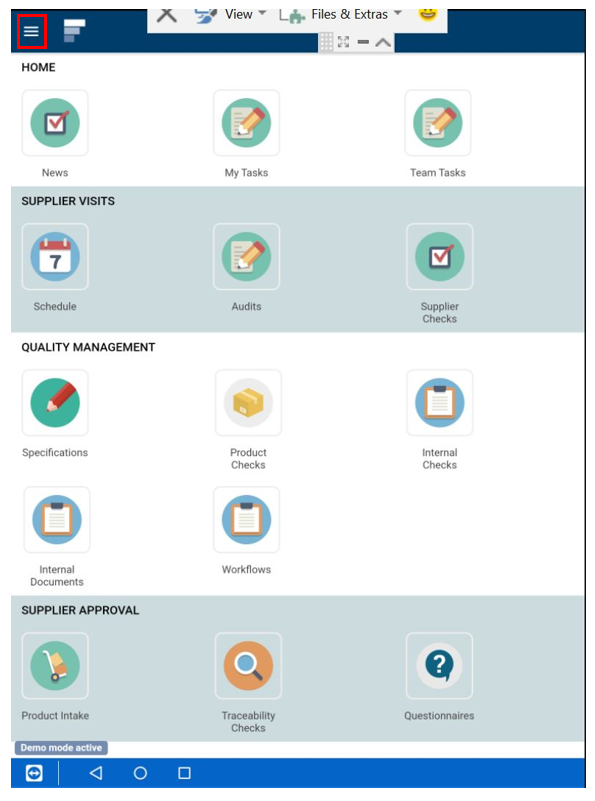
Step 1: When signed in go to the app select the lines icon

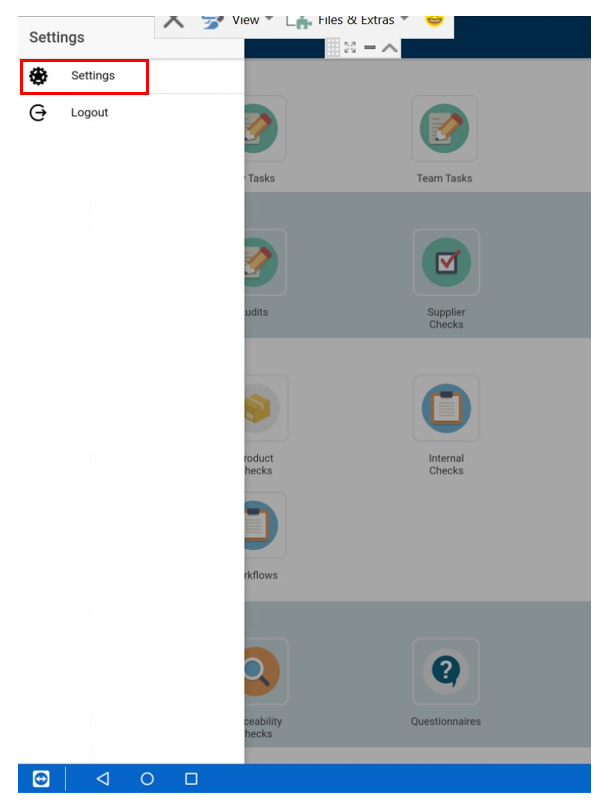
Step 2: Then choose settings

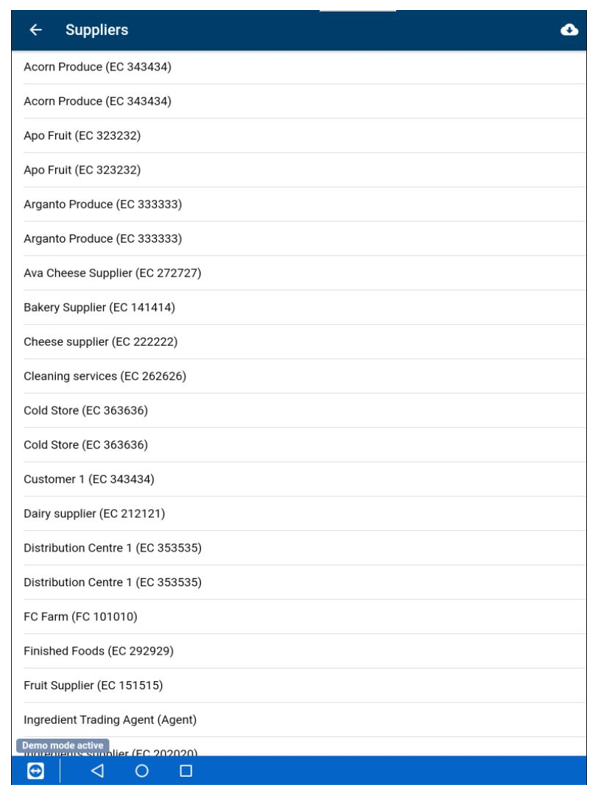
Step 3: Now download your suppliers to the app/tablet by selecting Suppliers

Step 4: Now select the Cloud icon to download your supplier list

Step 5: The suppliers have now downloaded

Step 6: Now select back

Step 7: Select back again

Step 8: You are back at the home screen. Now select Audits
Step 9: Now download your templates to the App/tablet by select the Cloud icon

Step 10: When they download ok you’ll see this notification

Step 11: Now select Create

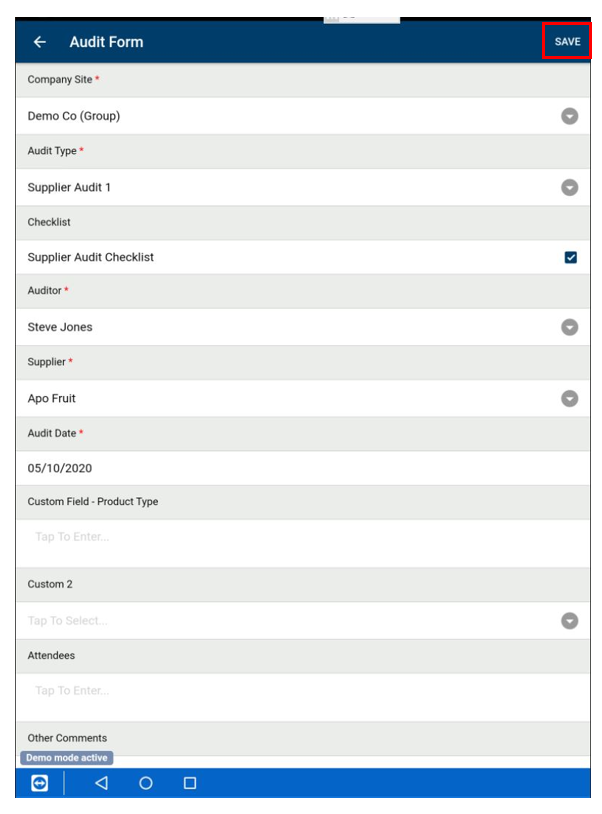
Step 12: Select the details below, taking care to select your checklist too.

Step 13: Select Save when done

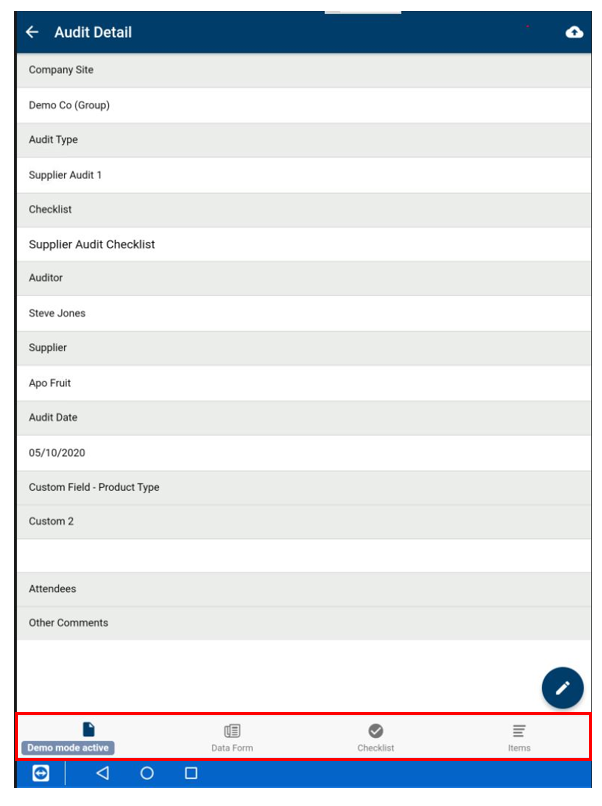
Step 14: Further tabs now appear at the bottom, start with the Data Form if you have activated one

Step 15: Select the pen icon to answer this part of the audit

Step 16: Choose answer from whatever questions are before you. When done select Save

Step 17: Now choose Checklist at the bottom, and then to begin the checklist choose the edit button

Step 18: Now select your answer and Save when done. If you choose Non-Compliant this will open a comments box and will create an Audit Item or NC automatically as this is the setting.

Step 19: Your checklist will look like this as you go through it.

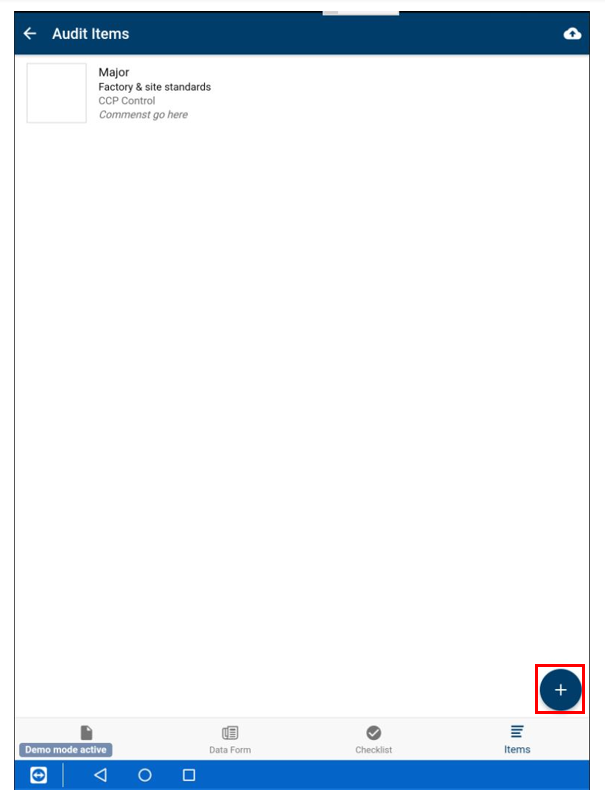
Step 20: To view your audit items, edit them or add one ad hoc select Items at the bottom

Step 21: To view your audit item that was created automatically by the checklist & edit it, select it. You can change the answers below Set Category or Status and add pictures. When done select Save

Step 22: To add an audit item ad hoc select the pen icon

Step 23: Fill in your answers from the dropdown lists, select Save when done

Step 24: Repeat these steps above to complete your checklist and add or edit audit items
Step 25: When you are finished you need to upload the audit to the main system/desktop. To do this select the cloud icon

Step 26: And the box below appears select Yes

Step 27: You will now see this notification. After this it is back to the desktop to complete your audit steps
