A finished product specification can be created with a mixing bowl which pulls in detail from raw material specifications that have been built in Foods Connected internally or by suppliers.
Step 1: Go to the Quality Management tab and select Specification Manager. Select the Company Specs tab and click on New Specification (Primary Spec).
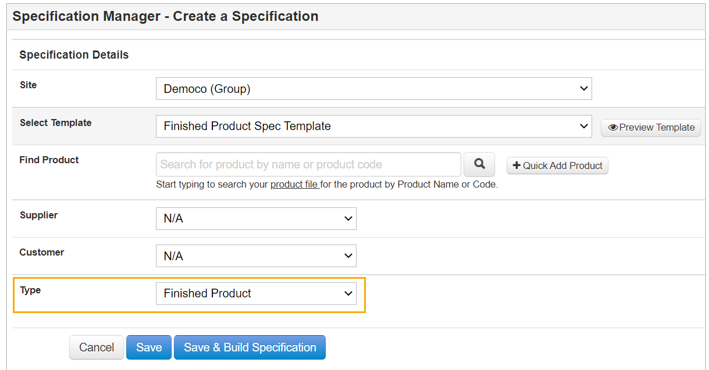
Step 2: A page will open to set your specification details. Select the specification site, template, and product. The supplier and customer options are not mandatory. As this is a finished product specification, update the Type field to ‘Finished Product'.
Step 3: Click on Save & Build Specification to open the template, the Edit Spec tab can be completed as a normal form.
Step 4: Click on the Recipe Breakdown tab, this is where you fill in your ingredient list.

*If you have set your ingredient measurement to be weight, you will see a weight column in the recipe table and a weight field to complete in the ‘Add Ingredient’ page instead of the %s.
Step 3: The finished product will display in the table, click on Add Primary Ingredient then Add Single Ingredient to add ingredients into the ingredient list of the product.
A form will open with various ‘Ingredient Search Source’ Options. Depending on the option you choose the form displayed below will alter.
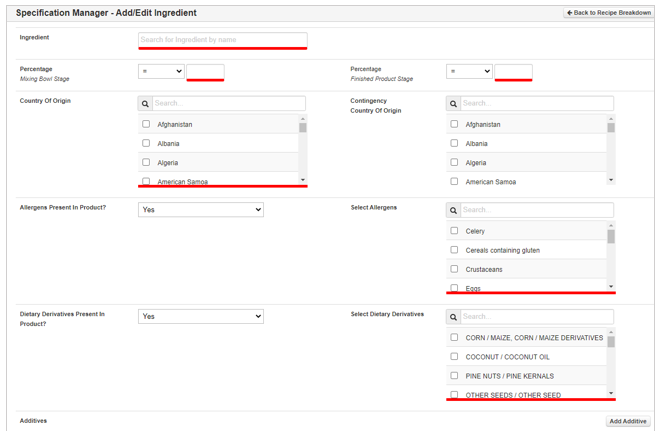
If you select ‘Ingredient Table’ or ‘Internal Product File’, you will see the full form to complete:
- Type in the ingredient/ product name and select it from the list which appears (if you cannot find your ingredient from the database, you can add one on manually).
- Input the percentages for the mixing bowl stage and the finished product stage (or weight if weight has been selected as the measurement type).
- Select the country of origin and contingency country if applicable.
- Select which allergens are present in the product.
- Select which dietary derivatives are applicable for the product.
- If the ingredient contains additives, click on Add Additive and a pop-up window will open, then select and fill in the relevant information and click on Save.
If you select one of the specs options as your source, a shorter version of the form will display because the system will automatically pull in the rest of the information from the source specification that has already been created on Foods Connected.
- Type in the product code/name for your specification and select it from the list which appears (only specifications which have the mixing bowl option turned on will appear in this list).
- Input the percentages for the mixing bowl stage and the finished product stage (or weight if weight has been selected as the measurement type).

When the ingredient information is complete, click on Save and Save & Exit which will take you back to the Recipe Breakdown tab. You can continue to add ingredients into your recipe until it is complete. The table will display the source of each component in the Type column.
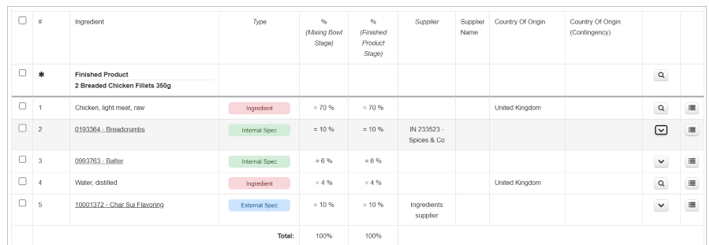
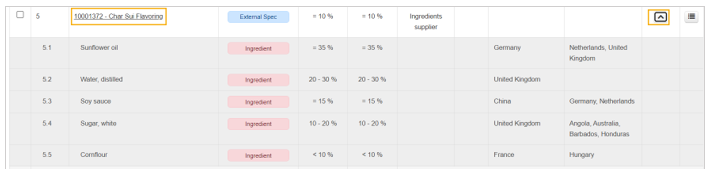
Click on the arrow beside specification source component to view the sub-components. You can also click on the specification name to directly open the source specification.
Step 4: If a vulnerability assessment is being used, to complete it for an ingredient, click on the dropdown arrow to the right and select Vulnerability Assessment.
- Select the ingredient touch points and their risk level by clicking on Select beside each relevant point. The selected touch points will appear to the right, reorder them by clicking on the arrows and dragging them into the correct position, delete points by clicking on the delete icon.
- Complete the vulnerability assessment form and click on Save & Exit to return to the Recipe Breakdown tab. The red X under the Vulnerability Assessment beside the ingredient will turn to a green tick once you save.
*Complete the Vulnerability Assessment for each ingredient as applicable.

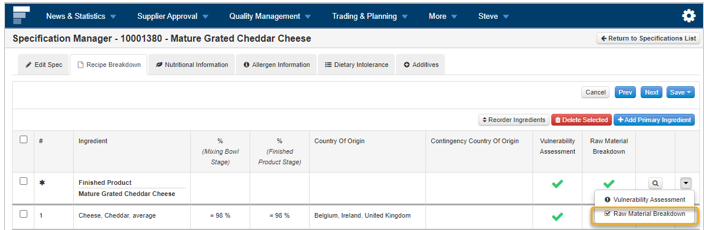
Step 5: To complete a raw material breakdown for an ingredient if relevant, click on the dropdown arrow to the right and select Raw Material Breakdown. Complete the raw material breakdown form and click on Save & Exit.
*Complete the Raw Material Breakdown for each ingredient if applicable.
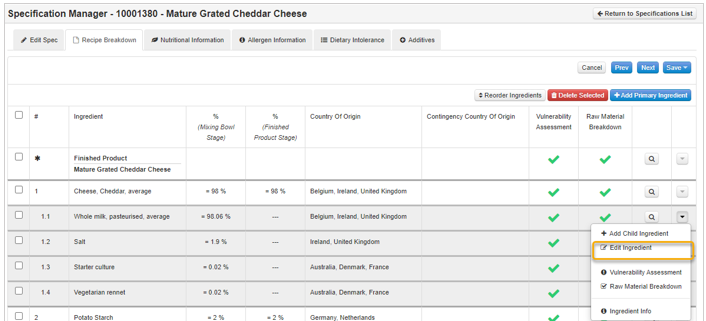
Step 6: To edit ingredient information, click on the dropdown arrow to the right and select Edit Ingredient; making sure to click on Save for any changes made.
Step 7: To delete an ingredient from the recipe breakdown, tick the checkbox beside it and click on Delete Selected.

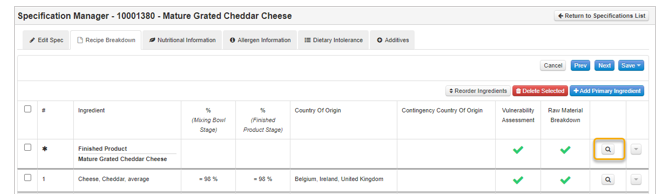
Step 8: To view the information you have completed for an ingredient click on the magnifying glass beside the product.
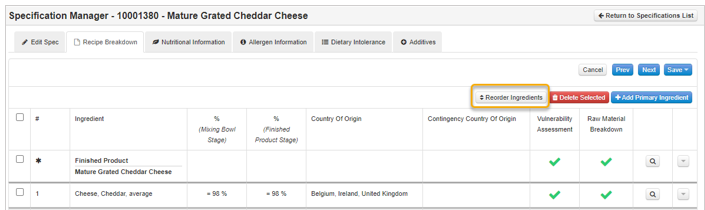
Step 9: To change the order of the ingredients in the list, click on Reorder Ingredients. A new page will open, click on the arrows to the left of the ingredient and drag into the correct position. When you are finished click on Done.
Step 10: All the ingredients added into the Recipe Breakdown will be automatically added into the Ingredient List and their nutritional values will be automatically calculated in the Nutritional Information tab from the sources input into the recipe table. If you want to manually input your nutritional values, from the Nutritional Information tab, change the dropdown to Enter values manually and click on Update then it will open boxes to input the values manually. Remember to click on Save after making any changes.

Step 11: If you select an allergen for one of the product’s ingredients, it will pull through to the Allergen Information tab and display as present in the product with the ingredient stated as the source. If allergens are contained within one of the source raw material specifications, this will display with a dropdown arrow so you can view the specification detail. Click on this tab, complete the information on the allergen and click on Save.

Step 12: If you select a dietary intolerance for one of the product’s ingredients, it will pull through to the Dietary Intolerance tab and display as present in the product with the ingredient stated as the source. It will do the same if a dietary intolerance was highlighted in one of the source raw material specifications. Click on this tab, complete the information on the dietary intolerance and click on Save.

Step 13: The additive information for the ingredient product will be automatically added into the Additives tab based on the information you have input into the recipe breakdown.
Step 14: Click on Save to save all the information that has been input into the template.
*Once a finished product specification has been created, sections 3.3-3.11 are all relevant for carrying out those specific actions.
If a specification included in an approved finished product specification’s recipe as a source is updated, the status of the finished product specification will update. If an approver is set up the status will update to Approval Required and an email and task will be sent to the set approver. If there is no approver for the finished product specification, the status will update to Requires Review and the specification creator will receive an email and task.