Step 1: Sign in and go to Product Check Manager under Quality Management

Step 2: Select Add New

Step 3: This is where you setup the details for that Product Check

Note that when details are added in this screen there may be different options that then require populating (see examples below)

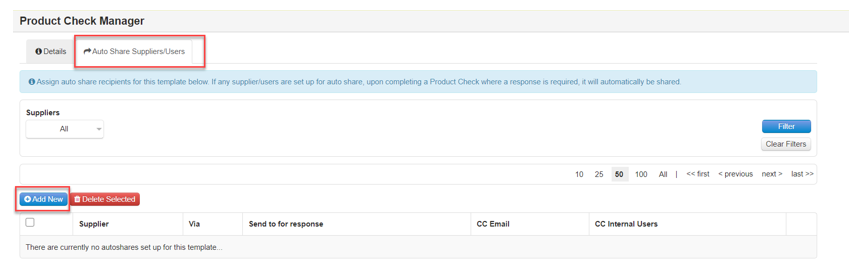
Step 4: The Check also allows for a PRODUCT CHECK to be Auto Shared. This function allows for Product Checks to be automatically shared upon Completion to supplier users or teams. To turn this on, enable “Supplier/User Auto Share”.
In addition, there is the option to set Auto Share to "Always” on or only “When Requires Response”. The email Auto Share will ultimately be dictated by the user completing the check on the desktop site or the app, where they’ll be prompted in a dialog box to set “Require response” to Yes or No at submission. .


Auto share users can be setup at the top of the "Edit details" screen, in the "Auto Share suppliers / users" tab.
Step 5: Once done above select Save & edit then select Product Check Template

Step 6: Build your check using the form builder to suit your needs. To add a new section select Add New Section.

New Section looks like this below

Step 7: To add a new field or question select Add New – Standard Field

Step 8: Now add in the details of the question & how you want it answered using the field types.

Step 9: Once done select Add Field

New Field looks like this below

Step 10 : Repeat steps to build up your check
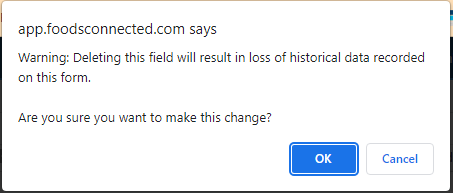
Step 11: Deleting a field from a Product Check Template will result in a loss of historical data associated with that field and a warning message will appear as below, requiring confirmation before proceeding.
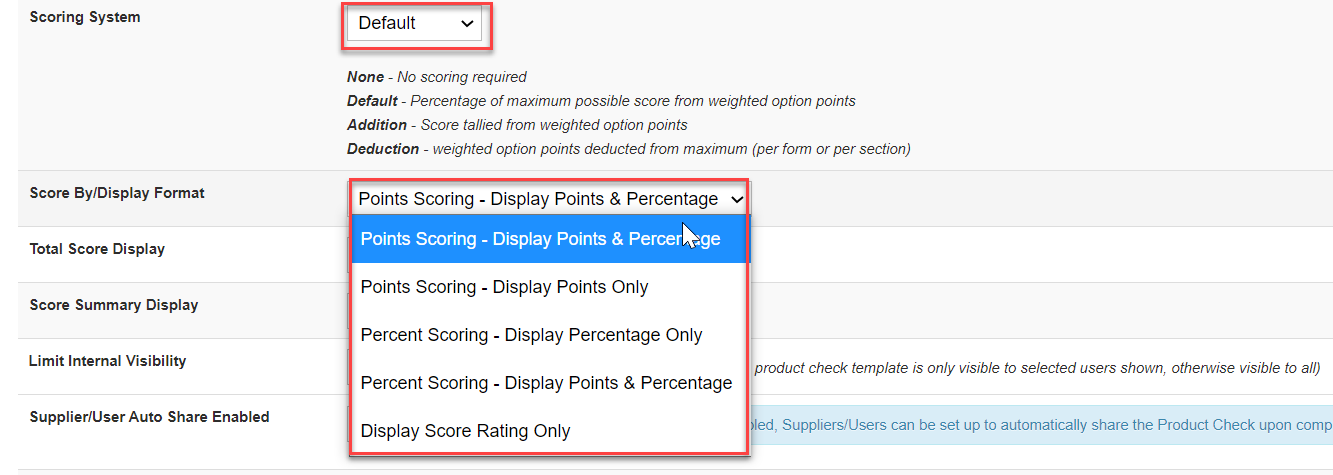
Step 12: Product Check Scoring. Edit Product Check Template.
Step 13: Product Check Scoring templates – Colour coded dropdowns.
For product check templates with scoring enabled, colours can be set against “Weighted dropdown” options. These will pull through when completing the check and viewing completed records. Click on the edit button beside each dropdown option to add a colour from the palette.

Step 14: Using the result from a calculation field to setup conditional fields.
When setting up conditional fields using the value from another numerical field, it’s possible to also use the numerical result from a calculation to determine field visibility or requirement, by selecting the calculation field in the "Field conditions” dialog box and setting the “Comparison type” and “Comparison value”.
